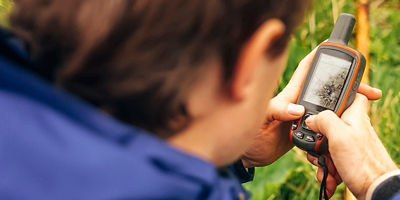
GPS units and navigation apps are so good, it’s easy to think compasses have become obsolete. But you made it to this page because you know that’s not true—you know that electronics can fail and batteries can die, and that having a compass and knowing how to use it could save your hide. With a compass, you can orient your map, take and follow bearings, and locate yourself. The first step: learning the parts of a compass.
- Needle Housing: This is exactly what it sounds like. The needle of the compass (the part that moves around on its own) is inside this housing, which is encircled by degree markings and cardinal directions: North, East, South, and West.
- Magnetized Needle: This needle always points to magnetic north, and is often red or white. The magnetized needle spins in relation to the planet’s magnetic field and rotates freely when the compass is held level and still.
- Orienting Lines: These parallel lines rotate along with the rotating dial (see below) and are marked on the bottom of the needle housing. Align these with the north-south lines on a map to align the orienting arrow to the north.
- Orienting Arrow: Use this arrow to orient the compass. This is what you’ll set to account for declination or to mark a field bearing or map bearing (the magnetized needle fits inside the orienting arrow and keeps you on course).
- Declination: The difference between true, or geographic, north and magnetic north (where the magnetized needle points) is different depending on where you’re physically located on the planet. This is known as declination. In order to be able to adjust for declination you need to find the declination value of where you are. (Enter lat/long on this NOAA calculator for current values). Then, check the instructions for your particular compass to adjust for it.
- Index Line: Located right above the dial and often marked with “read bearing here.” This is the spot you’ll take degree readings.


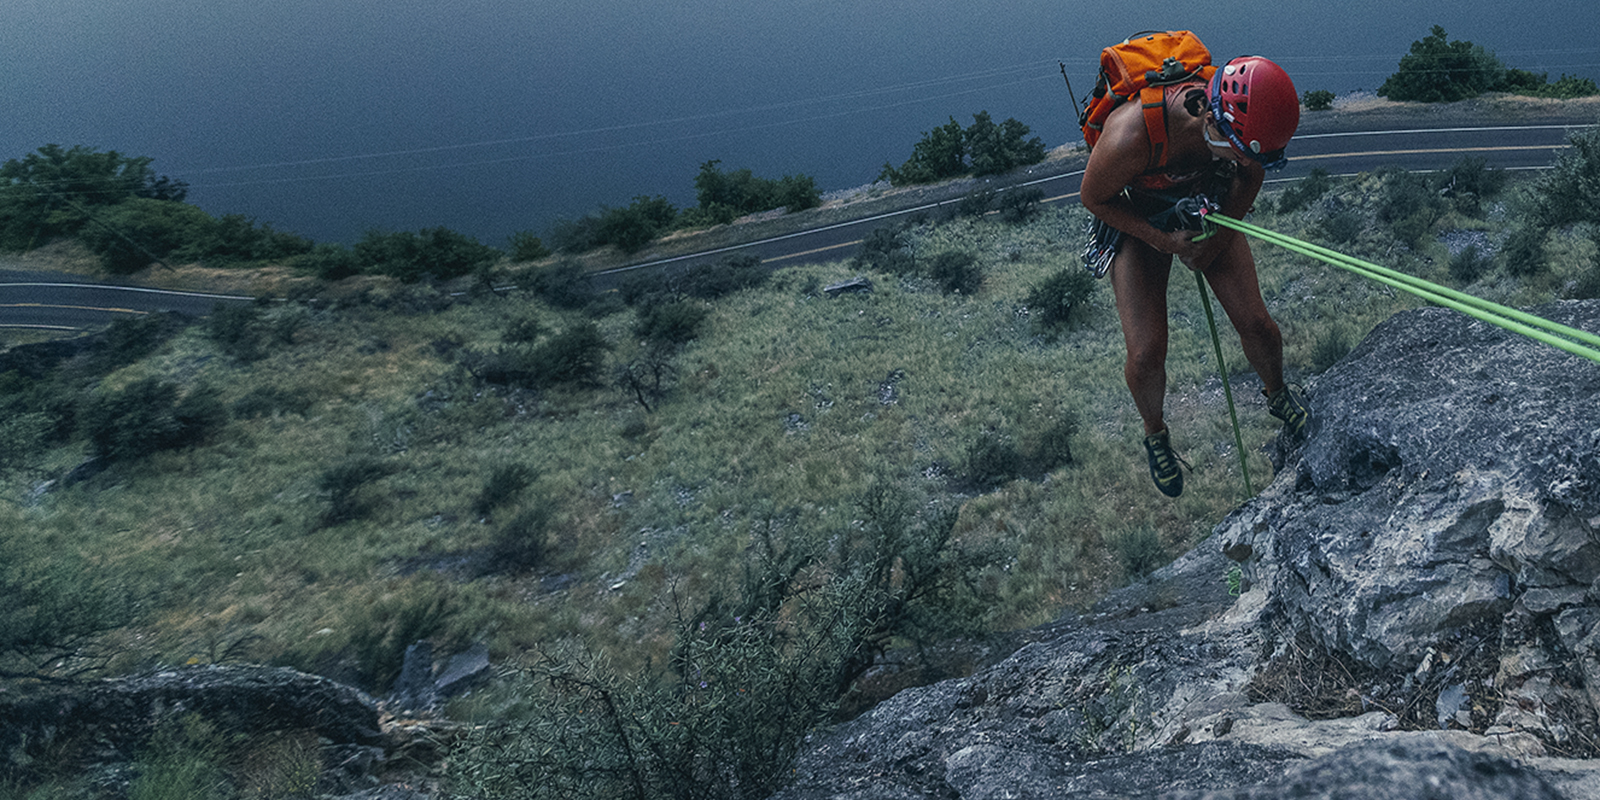
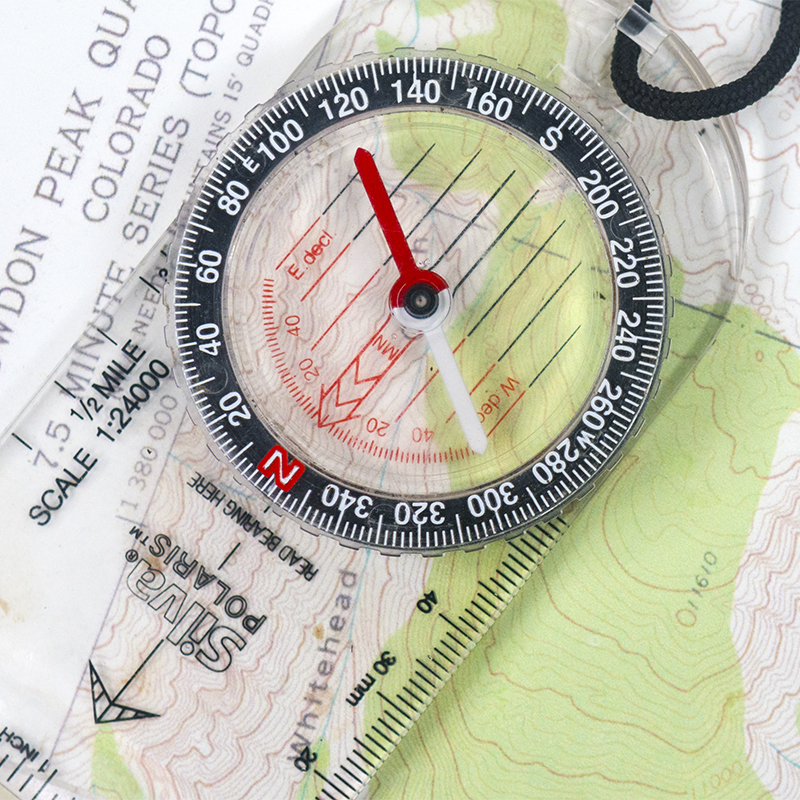 Photo: Kennan Harvey/TandemStock; (top) Colt Fetters/TandemStock