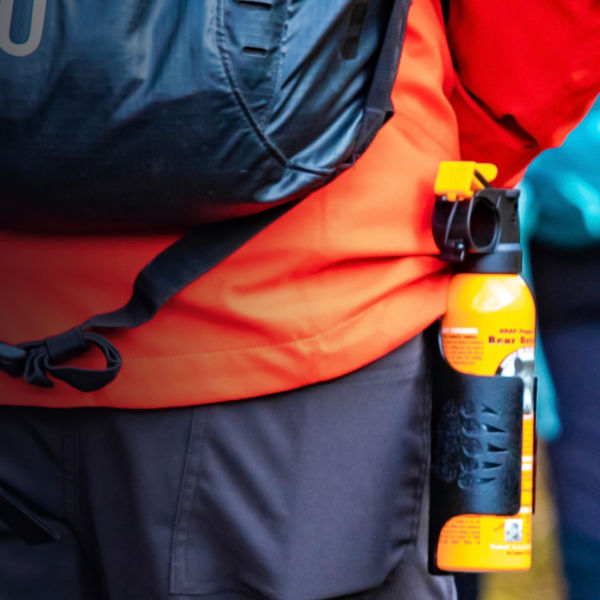

Bear Safety 101
Bear Safety 101: Skills for a safe camp.
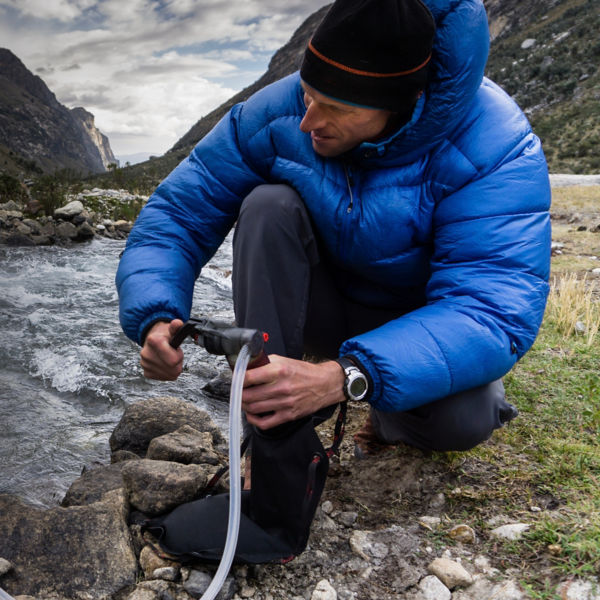
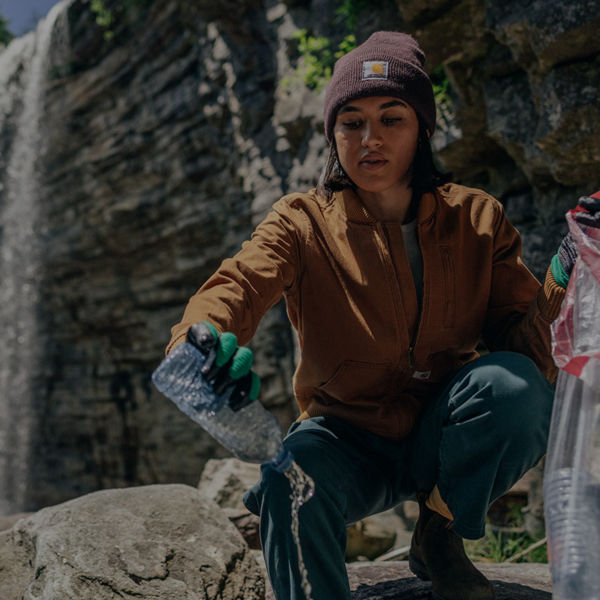
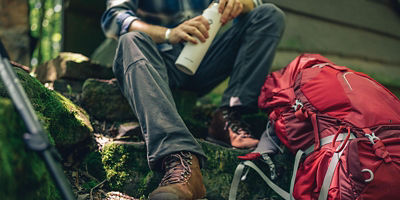
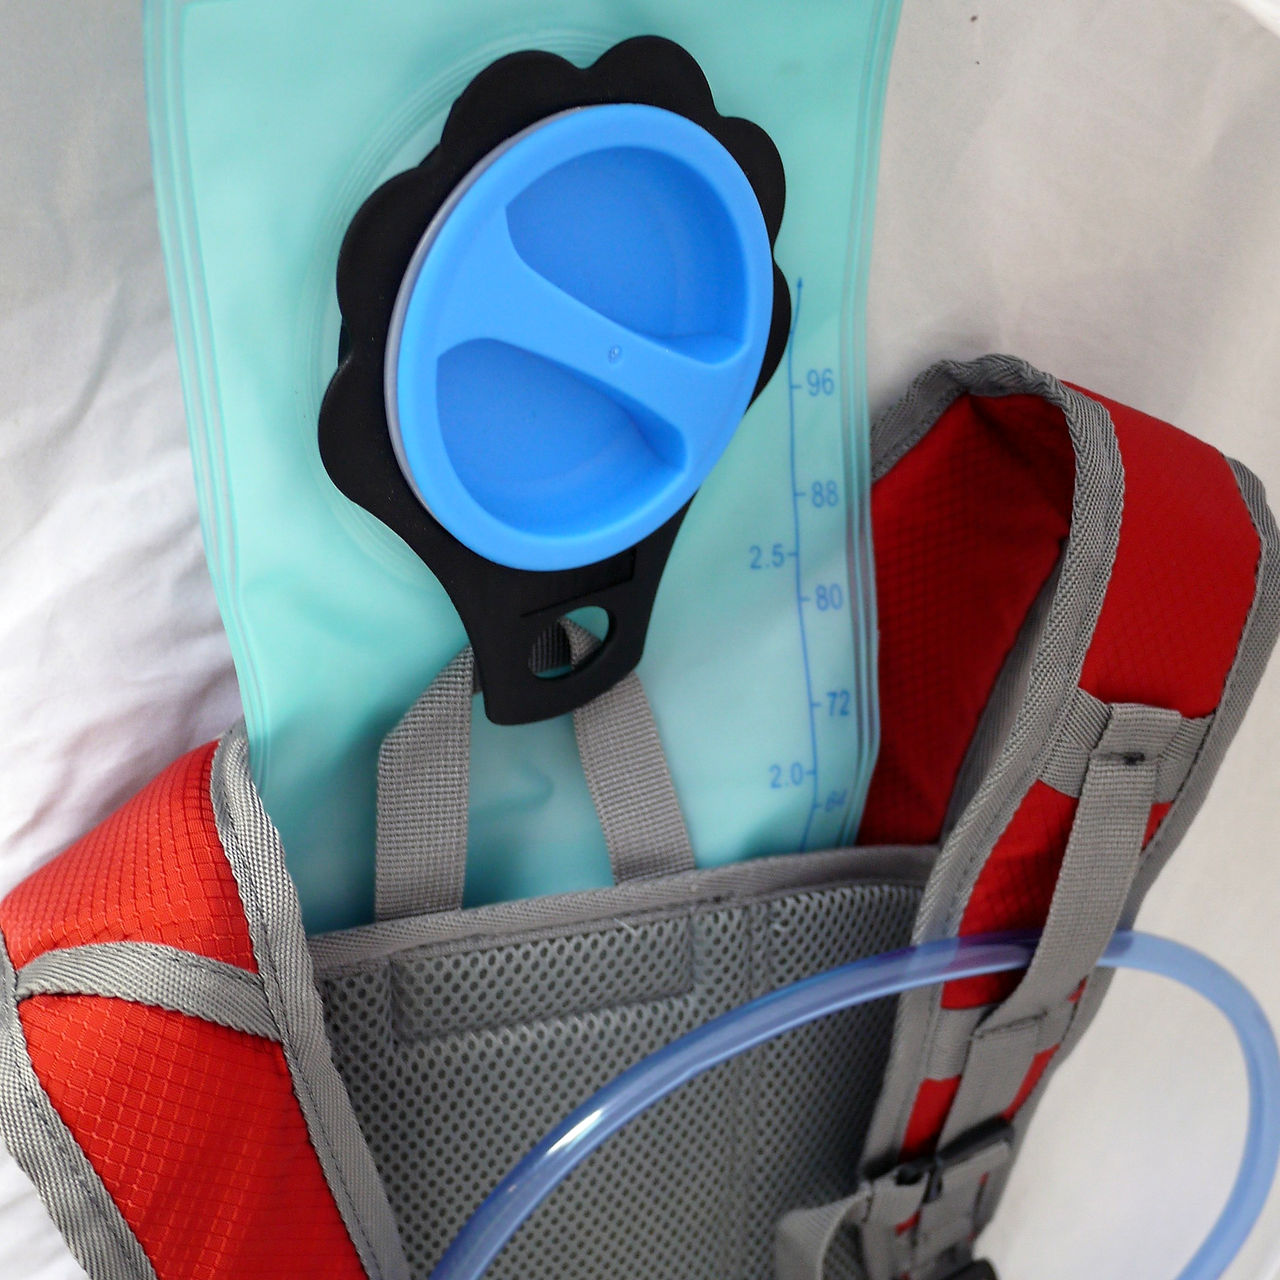
By using hydration systems—like water reservoirs or “bladders,” soft flasks, and water bottles—for your outdoor endeavors, you’re doing a healthy thing: hydrating. But not cleaning those systems properly can result in an unhealthy thing: ingesting mold and mildew. Gross.
If you’ve never properly cleaned your hydration systems before, chances are you’ll find dark-colored rings or spots around the mouthpieces or in the corners of the main liquid-holding compartments. When not cleaned and dried properly, these hard-to-clean areas muck up and harbor bacteria growth.
Even the main compartment of a reservoir, flask, or bottle can get moldy without the right care. (To test: Run your finger along the surface; if it feels soft to the touch, it’s probably moldy and in need of a proper cleaning.)
Here’s how to keep these crucial items clean.
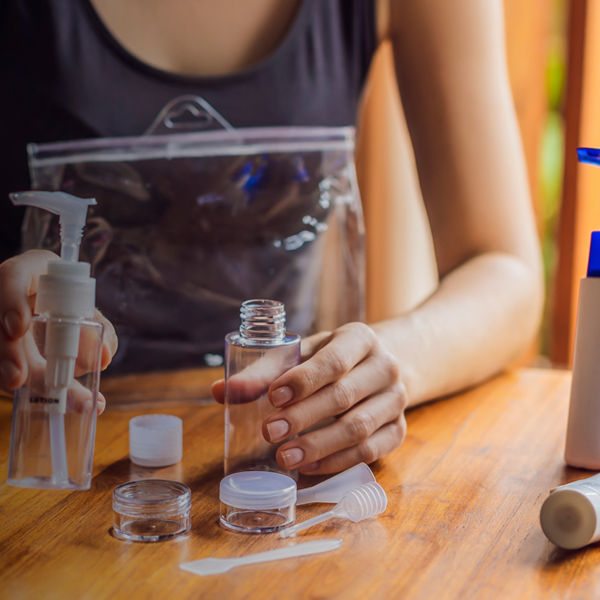
Though it may be (extremely) tempting to toss your pack, flask, or bottle and remaining liquid contents aside until the next time you’ll need it, don’t. Leaving even just water inside for a few days can result in the growth of some serious funk. After using any hydration system, dump out all contents. Then, remove any detachable parts, like lids, hydration reservoir hoses, or bite valves. Open water-bottle bite valves if they lock shut.
You can buy reservoir and water-bottle cleaning kits from brands like CamelBak, Osprey, and Mazama Designs. For reservoirs, these kits include cleaning brushes; a long, skinny hose with a brush on the end of it that fits inside a hydration reservoir tube; and a drying rack system. CamelBak’s kit also comes with dissolving cleaning tablets. CamelBak and some kitchen supply companies also sell water-bottle cleaning kits that consist of differently sized brushes. You can also use brushes not intended specifically for water bottles if you can find the right sizes.
If you’re just using water in your hydration systems, clean them out with warm, soapy water and rinse well. If you’re using your systems to store an energy drink of any sort, use soap and water in addition to other cleaning agents (see below). Scrub the main compartment and all the nooks and crannies, including the hydration hose and bite valve or inside the mouthpiece of water bottles or soft flasks, and around the grooves where bottle and flask lids attach to the main bodies. It’s a good idea to let bite valves, bottle caps and hydration hoses sit in warm soapy water to soak for a while before rinsing.
Especially if your hydration system has a funky smell, its contents taste funny, or if there’s visible mold or mildew, use a cleaning agent beyond mild dish soap. Additional cleaning agents include bleach (just a small amount, like a teaspoon, mixed with roughly 16 ounces of water will do), baking soda, white vinegar, a denture-cleaning tablet, or lemon juice. Fill your hydration system with a mixture of water and a very small amount of the cleaning agent, then let sit for roughly 30 minutes. Let removable parts like lids or bite valves sit in a mixture of the cleaning agent and water for the same amount of time. Post-soak, empty contents and rinse everything thoroughly, then use brushes to scrub well. When you’re done scrubbing, thoroughly rinse all parts with fresh water.
This is perhaps the most critical step of all. Improper drying leads to moisture retention within your hydration system, which creates breeding grounds for bacteria. For reservoirs, use the drying racks that came with your cleaning kit if you bought one, or place the reservoir over something like a wire coat hanger (shape the hanger to fit inside your reservoir, propping it open). You can also use a wine bottle, a paper-towel holder, a sink faucet…you get the picture. It can be helpful to turn some reservoirs inside-out to ensure drying—just make sure no water is trapped in the corners when you do. Keep bite valves open and in a position that allows them to fully drain.
If you’re having a hard time keeping water from getting trapped in the corners of your bladders or soft flasks, you can place them in a freezer to freeze any trapped liquid. Once frozen, you can shake, bang, or flick off the small chunks of ice.
This might seem like a lot of work just to stay hydrated, but keeping your hydration systems clean will both keep you healthy and maintain the life of your products.
All articles are for general informational purposes. Each individual’s needs, preferences, goals and abilities may vary. Be sure to obtain all appropriate training, expert supervision and/or medical advice before engaging in strenuous or potentially hazardous activity.
MORE STORIES