

How to Visit Bears Ears National Monument
President Biden just restored this remarkable Utah Preserve to its original size. Here's how to explore it.
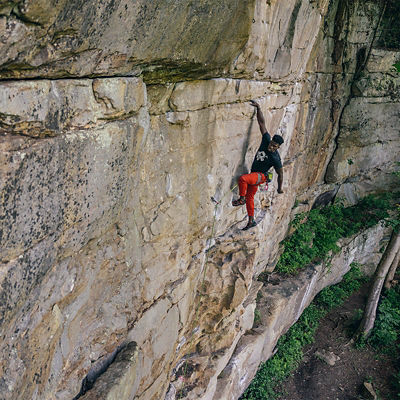
When you first learned to belay, you probably heard one golden rule over and over: Never take your hand off the brake strand. So the idea of “escaping the belay” might sound counterintuitive—if your partner is in trouble, why would you want to leave the system?
But for most emergency situations, being trapped on one end of the rope inhibits your ability to seek help or administer first aid. Escaping the belay is the first step to initiating a rescue in many scenarios, including these:
1. You’re belaying from below and your leader takes a bad fall onto a ledge. You need to climb up to them to help them rappel to the ground.
2. You’re belaying from above when your partner gets injured. You need to descend to reach them.
3. You’re belaying from the ground and your leader gets injured and can’t be lowered. You need to go get help.
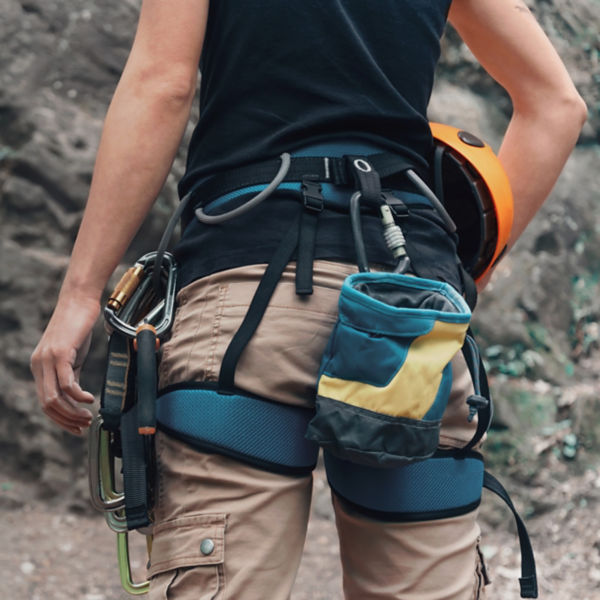
Self-rescue can seem complicated, but if you break it down, you’ll realize that you only need a few basic skills and some common climbing equipment to solve for most scenarios. Here’s what you’ll need for escaping the belay:
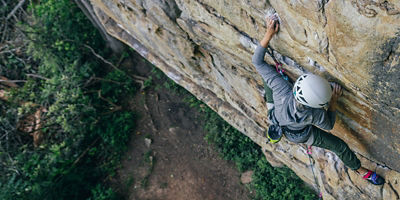
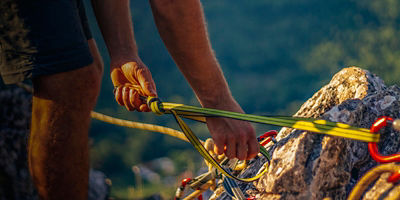
 Photo: Wade
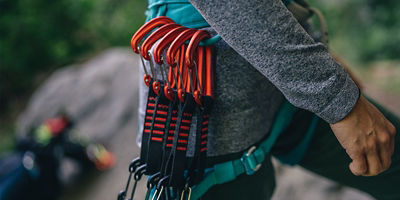
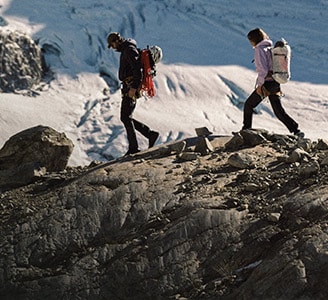
If you’re belaying from a multipitch anchor, double-check that you’re securely clipped to the masterpoint with a locking carabiner and that each piece is solid. If necessary, adjust the anchor or add gear to ensure it can take load in the direction of your climber—from above if your leader has fallen, and from below if your follower has fallen.
If you’re belaying from the ground and don’t have an anchor, build one with whatever you have available. Remember you can use the tail end of the rope to sling a tree or boulder if you don’t have other material on hand.
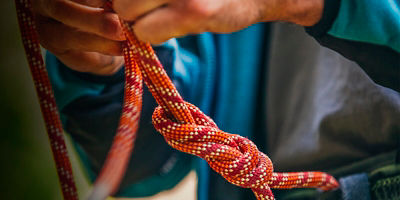
Without letting go of the brake strand, push a bight of it through the back side of your belay carabiner. Pull it through the carabiner toward you until you have about a two-foot loop. Use the taut side of that loop to tie a mule hitch on the climber’s side of the rope. Now take the new loop of rope that you’ve pulled through your mule hitch and use it to tie an overhand knot on the climber’s strand, just above your belay device. The overhand is your backup knot, and it will hold the mule in place. (This classic knot combo is called a “mule overhand.”)
If you’re using an assisted braking device like a Gri-Gri, you can also tie a big overhand on a bight below your belay device. Just be sure to clip a carabiner through the loop to make sure it doesn’t work itself loose.
Now that you’re hands-free, grab your cordelette. Use one end to tie a klemheist hitch to the climber’s strand of the rope. (A Prusik hitch will also work—it will just take longer to tie and untie.)
When your friction hitch is done, clip a locking carabiner to the masterpoint of your anchor. Clip the slack side of your cordelette through that carabiner and tie a Münter hitch. Be sure to lock the carabiner. Tug at the strand behind the Münter to pull your cordelette taut, and tie your Münter in place with another mule-overhand. (This set of three knots is very common in rescue scenarios. It’s called a “Münter mule overhand.”)
Now you need to secure your belay strand. The most versatile knot you can use for this is—you guessed it—another Münter mule overhand. Grab the brake strand just behind your belay device and tie it to the masterpoint of your anchor with a Münter hitch on a locking carabiner. Lock the carabiner, but don’t tie the mule-overhand just yet.
Keeping one hand on the brake strand behind your working Münter hitch, untie your original Münter-mule overhand—the knot that’s currently keeping your belay device locked. When this is done, you’ll have a lot of slack in the system. Tug the brake strand behind your working Münter hitch to pull most of the slack through the hitch. When you only have a shallow belly of slack in the rope, gently feed it through your device, effectively lowering the climber’s weight onto your klemheist hitch.
When the load is fully transferred to the klemheist, you’ll see the rope go slack just above your belay device. You can now remove your belay device from the system. You should still be holding the brake strand behind your working Münter hitch. Remember not to let go of the brake strand during this step.
When you’ve removed your belay device, pull the brake strand to suck the rest of the slack through your working Münter hitch. When your brake strand is taut, give the climber’s strand a quick tug to flip the Münter hitch through the carabiner, which sets the hitch in a lowering orientation (this will be useful when you’re getting your partner to the ground later). This fip will create a tiny bit more slack in the climber’s strand. Push this slack back through the Münter hitch without flipping it out of its lowering orientation. Then, tie the Münter in place with a mule-overhand. You have successfully escaped the belay.
Note: Performing these techniques incorrectly can be dangerous. Always practice technical rope skills in a safe environment before attempting them off the ground. No article about such skills should be considered a substitute for professional instruction from a guide or qualified instructor.
All articles are for general informational purposes. Each individual’s needs, preferences, goals and abilities may vary. Be sure to obtain all appropriate training, expert supervision and/or medical advice before engaging in strenuous or potentially hazardous activity.
MORE STORIES